
I’m certainly no pro when it comes to reupholstering – which is why this easy, no-sew DIY was perfect for me!
Disclosure: This post may contain affiliate links which could earn me a small commission if you buy something after clicking one. This doesn’t cost you anything and serves to support this site and all of the hard work that goes into it. Thank you for being part of this online neighborhood!
For some unknown reason, when we moved in to this house, I bought a dark grey panel bed with a tufted headboard and silver nail-head trim for our guest room. There is nothing wrong with it – but do you see anything else even remotely similar to that style in my house? Nope. Me either. Which is why I always cringed a tiny bit every time I walked in to that room. It just didn’t feel like us.

Not wanting to be wasteful, I lived with it for about two years. Then, when the Fall 2018 One Room Challenge rolled around, I decided it was time to make a change and try my hand at re-upholstering it. I did a ton of searching for bed re-upholstery tutorials but everything seemed a bit more complicated than what I knew I had the patience for. I decided to go at it blindly and devise my own way to re-upholster an entire bed with minimal effort. Unfortunately, I didn’t have the foresight to take photos during the process but here is my best attempt at explaining how I tackled it.
1 | Measure your bed
There are upholstery calculators and guides online that I used as a base estimate, then I did some measuring of my own. Fabric bolts generally come in widths of 45-60″ and lengths up to 100 yards. If any piece of my bed was both wider and longer than 60″, I would have to sew panels of fabric together. Luckily, that wasn’t the case (and probably won’t be for most standard beds.) So I just added up the length of each individual piece/panel to determine how many yards of fabric I would need, then added another 20% to be safe. Be sure to bring each of these individual measurements with you to the fabric store. Sometimes a bolt will already be cut up into smaller pieces. If that’s the case, you’re going to want to ensure that you have pieces long enough for each of your bed parts.
2 | Choose the right fabric
I decided right off the bat that I was not going to rip off the old fabric, nor was I going to worry about removing the tufting or nail-head trim. I just felt like that was asking for trouble and I didn’t want to risk ruining the integrity of the bed. Plus, I figured if I really messed things up, I would always have that to go back to.
I wanted a soft linen look – something similar to the bed in our master (below) because that linen just has the perfect neutral undertones and seems to go with everything.


As it turns out, Joann fabric actually sells that same exact linen. I snatched up all of the bolts they had. Since the linen is a bit sheer and was going to cover the existing dark grey fabric, I also snagged some white cotton liner fabric to go between the two.
3 | Take your bed apart
It’s an annoying but necessary step. If your bed comes apart, you need to take it apart – every panel, the wings, the feet – it all needs to come off. You’ll be wrapping each piece individually.
4 | Get out your tools
You’ll need scissors, a staple gun and lots of staples. Period. Seriously! I cut sections of fabric to match each panel (giving myself about 6″ of overlay on each side.) Then I was ready to wrap.

5 | Wrap and Staple
I did the layers of cotton liner and linen separately and wrapped each panel of the bed like a gift. I folded over the edges of fabric (for a finished look and to prevent fraying) and stapled along that fold securing the fabric to the back side of the panel.
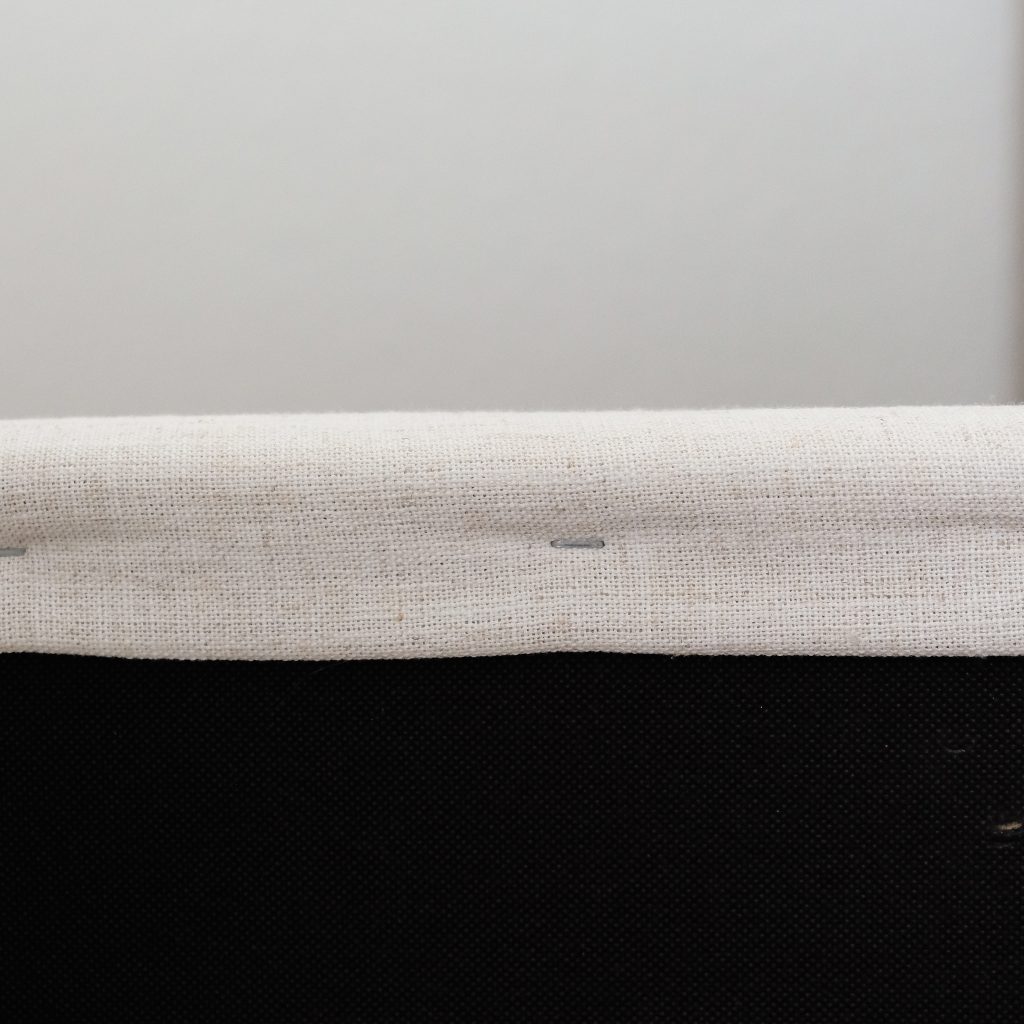
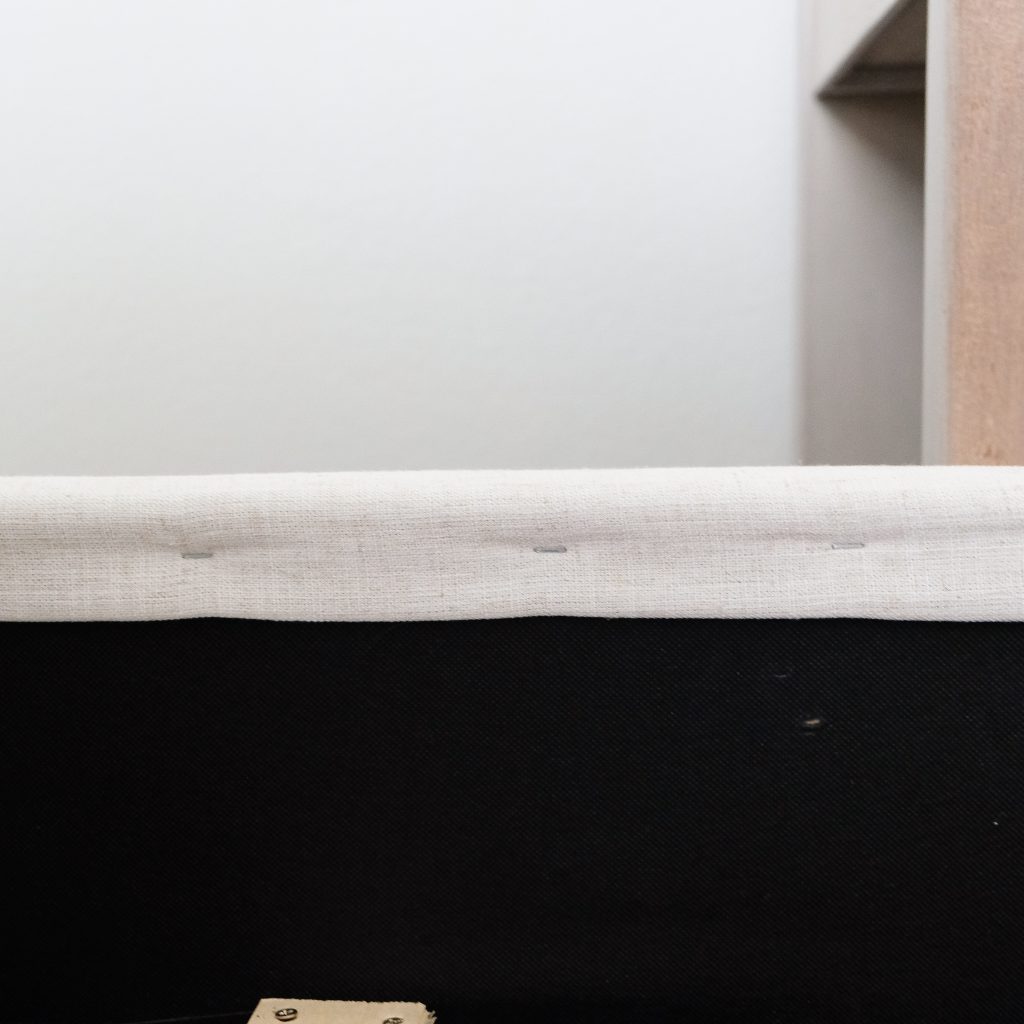
I kept my corners tidy by tucking and folding the excess fabric inward, much like the way you would finish off the sides of a present.

In wrapping the panels, I had to cover some of the existing screw holes. I simply cut an “X” in the fabric with scissors (or a box knife if you have one) so that the screws could still pass through.
Then, it was time to put the bed back together.

The whole bed took about 3 hours from start to finish and my total cost for fabric and staples was about $170.
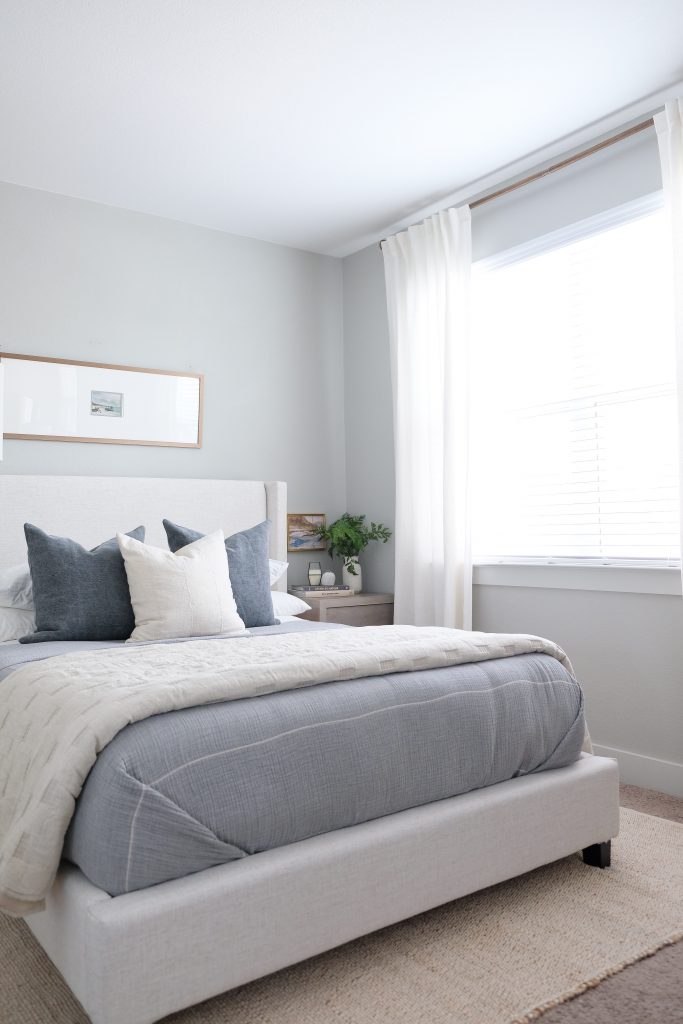
And voila!
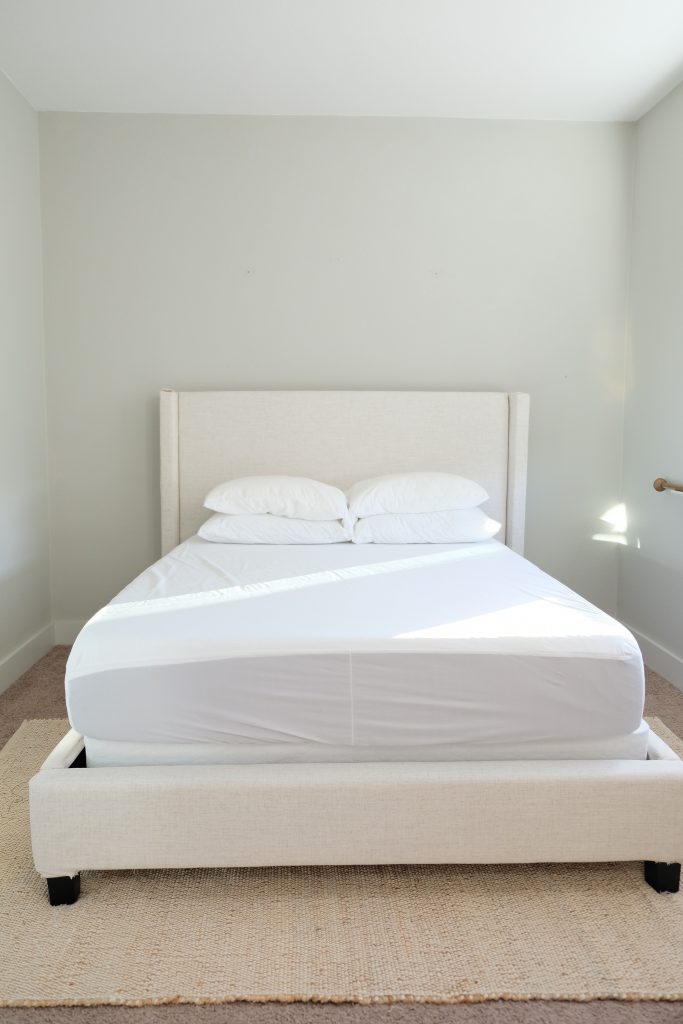
Doesn’t it just feel like a breath of fresh air?
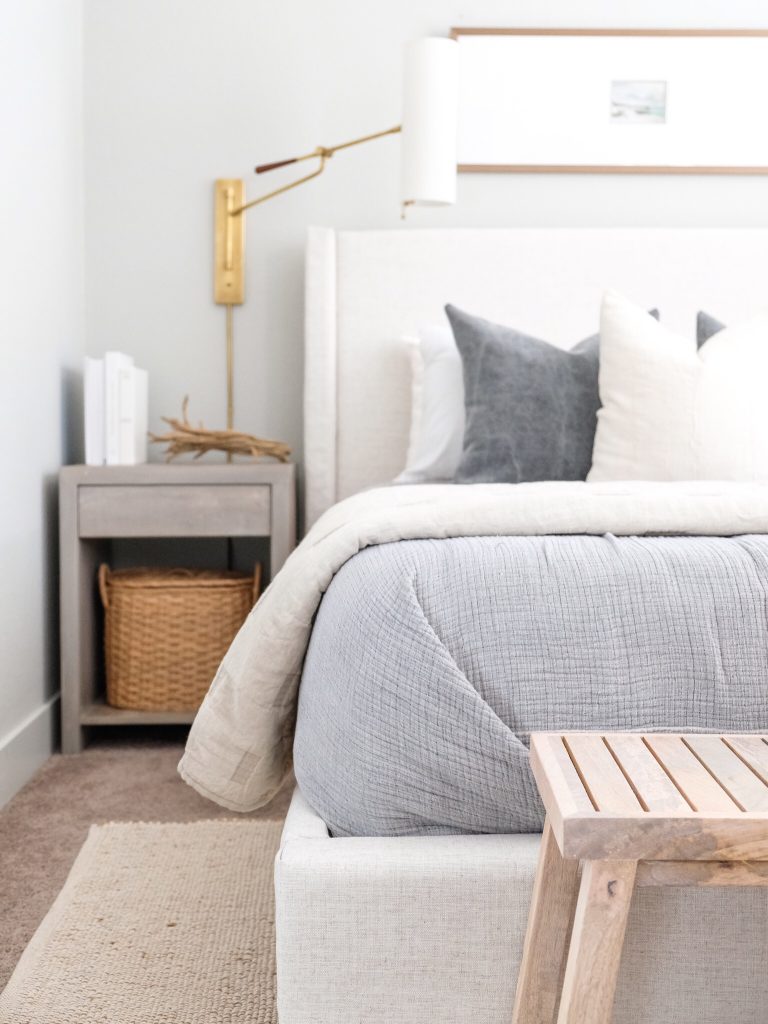
Shop this look:

Not in to the DIY? I’ve sourced some lookalike options for you here:


Related Posts
One Room Challenge: Reveal!
Revealing our guest room after making it over as part of the 6 Week One…
November 8, 2018One Room Challenge: Week 5 Progress
Disclosure: Sometimes I use affiliate links which could earn me a small commission if…
November 1, 20184 COMMENTS
Leave A Comment
This site uses Akismet to reduce spam. Learn how your comment data is processed.
© 2020 gold coast canvas. all rights reserved.

Kristin | 12th Feb 19
I love this DYI. I am going to try it this weekend. I also have a headboard that I’m not sure what I was thinking when I bought it! Do you have a link to the fabric you used from Joann Fabric? Thanks!
admin | 13th Feb 19
Hi Kristin,
So glad I’m not the only one haha! I think it’s an in-store-only fabric and unfortunately, I can’t remember the name of it (I know, I’m no help!) BUT I do know that they use the exact same fabric on their Skyline Furniture line and they call it Linen Talc. I’m sure if you ask customer service or your local store, they will be able to locate the actual fabric for you. I will also do some digging and see if I can figure it out!
Rachel | 5th Feb 19
Dani, I love your bedroom so much! It has such a wonderfully inviting feel, just like a bedroom should be. Also, this DIY project is kind of epic and you outlined it so well in your post! .Amazing what a few hours and some solid hands-on skills can do
admin | 5th Feb 19
Rachel! Thank you so much for taking the time to write that. It’s so encouraging! I’m glad you found it helpful and so appreciate your kind words!