One Room Challenge Week 2: How to Plan a Room Design

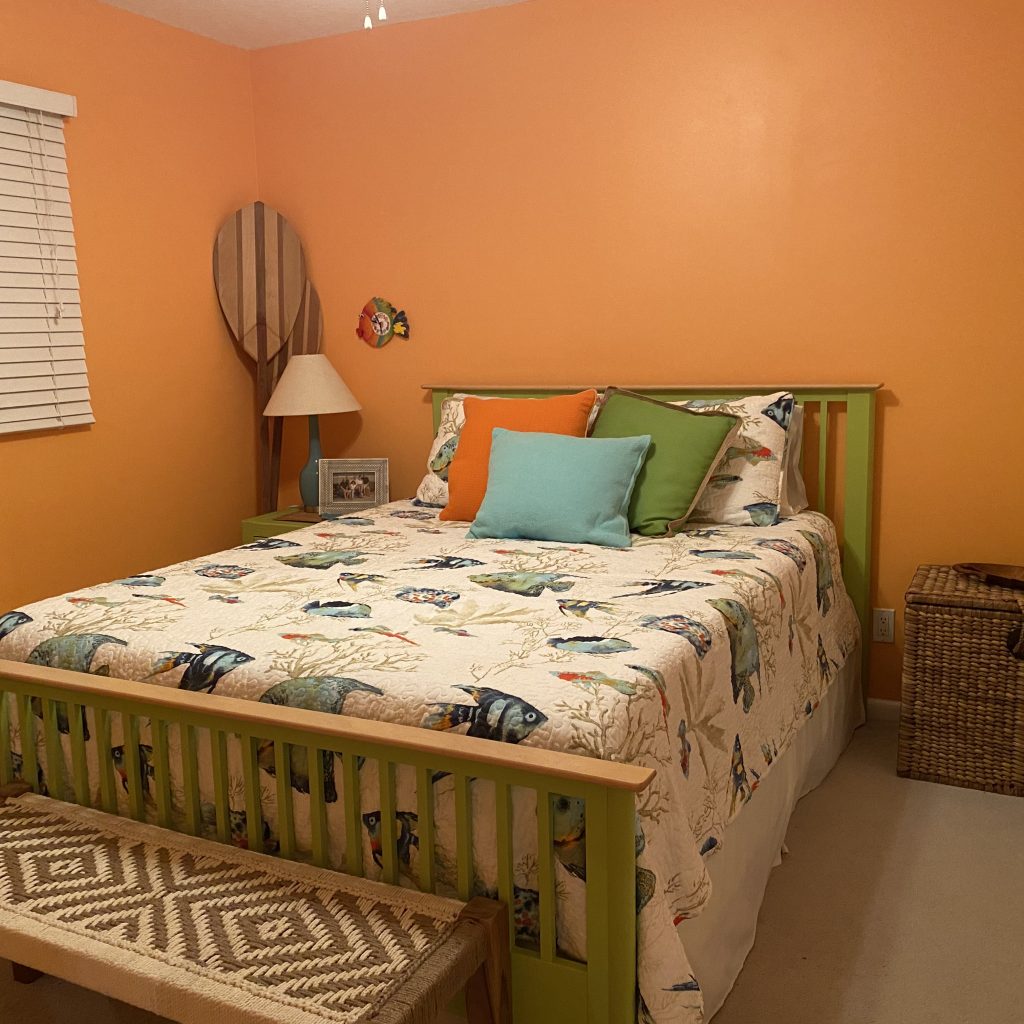
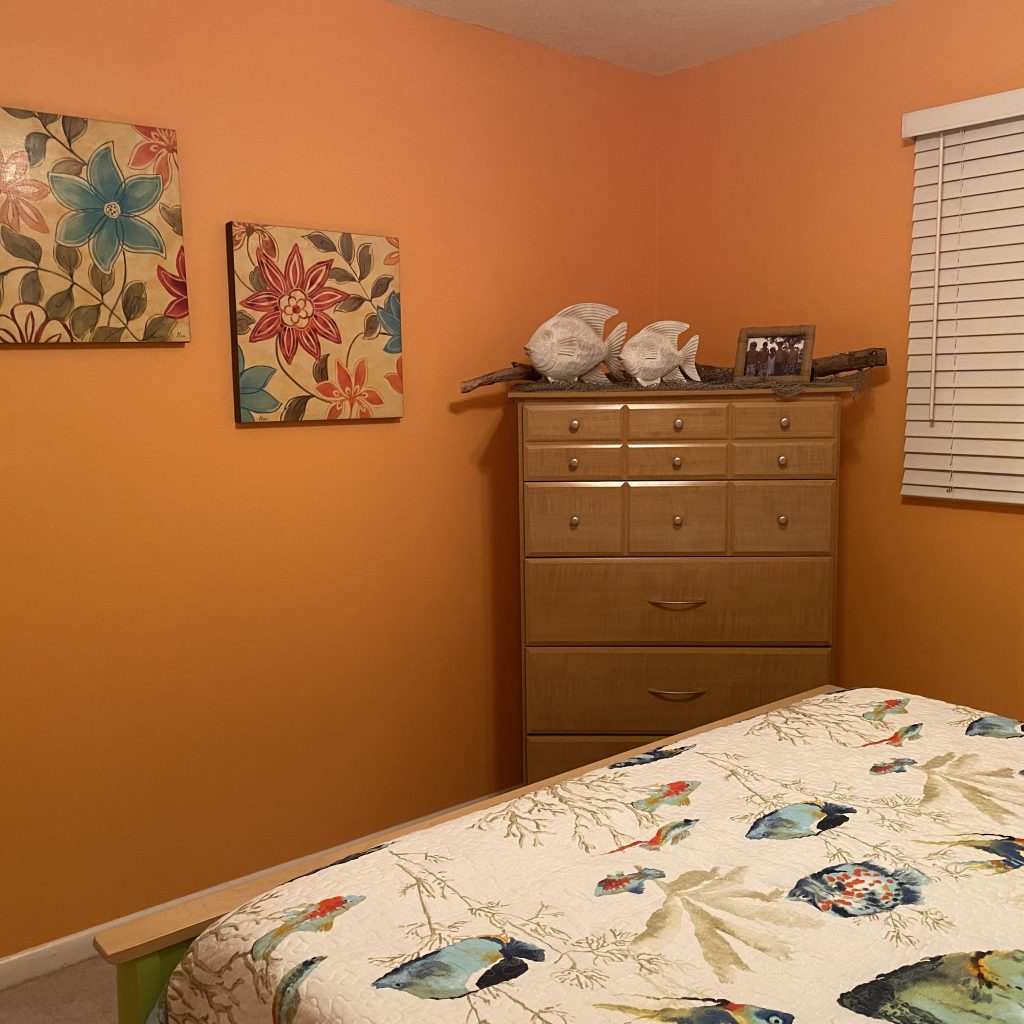
For this Spring’s One Room Challenge, I’ll be redoing a bedroom in my Mother-in-Law’s house! I have six weeks to totally transform the room and I’ll post design updates each week here on the blog and on Instagram. To view my previous ORC updates, click here. To view other participant transformations, check out the ORC website here: www.oneroomchallenge.com/orc-blog

The Design Process
I share this process with one disclaimer: the challenge of transforming a room in six weeks means that I have to make compromises. If I had more time (and I am always a fan of taking your time when decorating a home) this is the typical process I follow.
Function First
Survey the room and note the things that you’d like to improve. Is it lacking natural light? Does the furniture layout make it difficult to move around the space? Do you need more storage? What are your habits in the space? What would make them easier? Function should always be the foundation of any design, so don’t skip this exercise.
This also helps re-frame your buying decisions. Often times, we let a room dictate our purchases. Have you ever looked at an empty corner or an empty wall and thought “I should put something there!” Let function take precedence instead, and you may find that the room lacks nothing even with a few empty spaces.
Measure Everything
And I mean everything. Length, width and height of every wall. Every window and door. Every outlet position. I even recommend measuring any existing furniture whether or not you’re going to keep it. This will give you a reference point as you look at new items. It’s a tedious task but having these numbers handy means you can make purchasing decisions for your design quickly and accurately.
Draft the Floorplan
Since you already have your measurements, this part is easy. Draw up your floor plan and start playing around with furniture placement. There are plenty of free applications online to do this. Here’s what I came up with for our room:

Build Your Moodboard
Now it’s time to get creative. The purpose of your initial moodboard is to suss out the aesthetic you’re going for. It doesn’t need to be prescriptive and doesn’t need to have any constraints. Simply choose items that inspire you and mix and match things until you have a combination that feels good. This will now serve as your visual guide as you source actual pieces for the space.


For tips on building your own moodboard, check out my Quick Tips story highlight on Instagram.
Start a Shopping List
I like to create a generic shopping list which essentially a list of everything I’ll need to purchase for the space. I haven’t identified actual pieces yet, but this exercise sets me up for easy budgeting and tracking as I source in the next step.

Helpful Tip: For budget tracking, I suggest entering your total target budget at the bottom first and then deducting item costs as you source pieces. This way, you always know how much you have left to spend.
Source & Shop!
I usually start sourcing for my design online. This makes it easy to pin a bunch of options to Pinterest and see what works and what doesn’t. For example, I know from my mood board that I’m looking for a black nightstand with drawers. I’ll source online and pin a few options that are within my budget, measurement and style constraints. I’ll do this for most items on my shopping list. Then I’ll go back through my Pinterest board and quickly remove everything that doesn’t feel right. What I’ll end up with is a final shopping list!


Then, I’ll start entering details for each of my final items into my shopping list to see how it works with my budget.

This is also where I can track shipping statuses once I make final purchasing decisions.
Note: If I’m making big purchases, I’ll first order any applicable samples or view the products in-store (if possible) to make sure my fabric and material choices work together.
Choose Your Paint
This one deserves it’s own category because it’s always the most complicated AND because I strongly believe it should be the last step in any design implementation. Paint is very finicky and highly dependent on the space it’s in. Waiting for your furniture and decor to arrive makes it so much easier to determine what paint colors work. Otherwise, we’re looking at a bunch of paint samples in an empty room hoping everything else we put in it will work.

Let’s be neighbors! Follow me on Instagram @goldcoastcanvas for more home decor conversations.
Related Posts
Affordable Curtains: Three Options
Though it never gets very cold here in Palm Beach, I still enjoy swapping in…
November 16, 2020Thanksgiving Table Favorites
Thanksgiving may look a little different for us this year, but it’s the little…
November 9, 20203 COMMENTS
Leave A Comment
This site uses Akismet to reduce spam. Learn how your comment data is processed.
© 2020 gold coast canvas. all rights reserved.

One Room Challenge Week 3: Choosing a Paint Color | gold coast canvas | 24th May 20
[…] my previous post, I walked you through my design process and explained why I typically choose paint last in a space. […]
Holly Volpe | 18th May 20
Love the mood board and color story, Dani! It’s going to look amazing – can’t wait to see the final reveal!
admin | 18th May 20
Holly, that means so much to me coming from a pro! Thank you 🙂